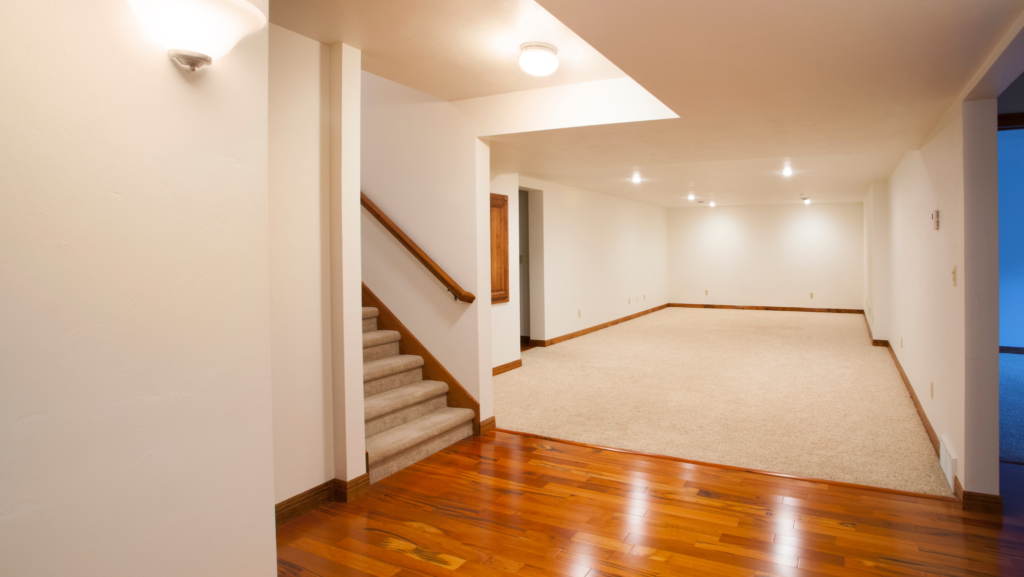
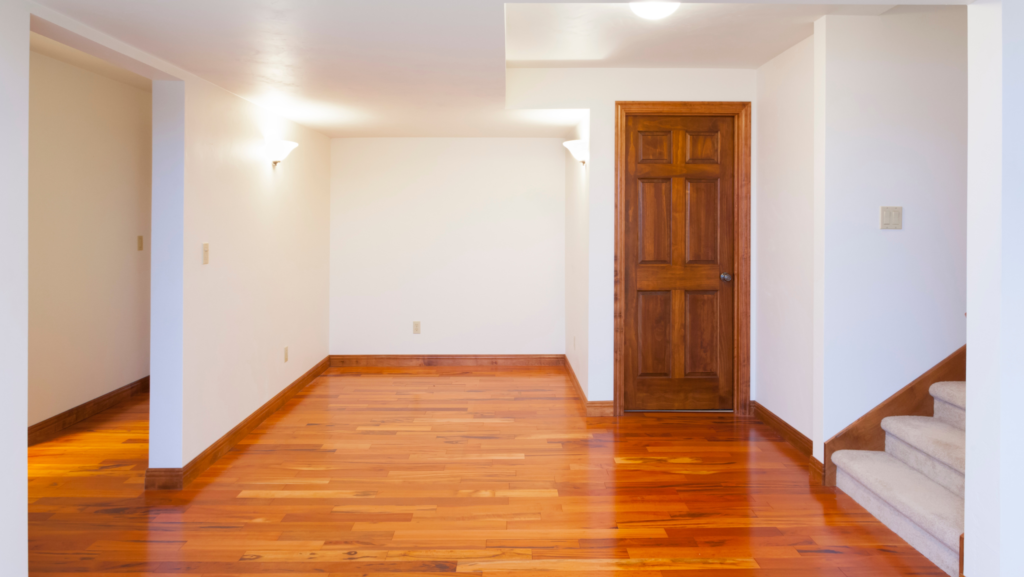
If you want the look of hardwood floors in your home but don’t want to deal with the inconvenience of finishing them yourself, pre-finished engineered flooring is a great option. This flooring has a protective covering applied before it is sent, so it may be laid immediately upon opening the box. If you’re thinking about replacing your floors or starting a major restoration project, you should familiarize yourself with the fundamentals of installing pre-finished engineered flooring.
This article will explore the fundamentals of this flooring choice, including how to get it ready for installation and the procedures involved.
What is Pre-Finished Engineered Flooring?
Pre-finished engineered flooring is like the superhero of flooring options; it combines the beauty and durability of hardwood with the convenience and ease of installation. Unlike traditional hardwood flooring, which requires sanding, staining, and sealing after installation, pre-finished engineered flooring comes already finished and ready to go. It’s like getting a deliciously frosted cupcake instead of having to bake and decorate it yourself.
There are several advantages to choosing pre-finished engineered flooring. First, it saves you time and effort because you don’t have to worry about finishing the floors on-site. Second, the factory-applied finish provides a consistent and durable surface that can withstand everyday wear and tear. Third, it offers a wide range of style options, so you can find the perfect flooring to match your taste and decor. Plus, let’s not forget the bragging rights you’ll have for installing such a fancy-sounding flooring option.
Pre-Installation Preparation and Planning
- Measuring and Calculating the Flooring Material Needed
Before you start shopping for pre-finished engineered flooring, it’s essential to measure the area you want to cover. Just like trying to squeeze into jeans that are two sizes too small, buying too little flooring can leave you feeling frustrated and unfinished. Use a measuring tape to calculate the square footage and add a little extra for any potential wastage or mistakes.
- Preparing the Subfloor
Think of your subfloor as the foundation for your beautiful new floors. It needs to be clean, level, and dry for optimal installation. Remove any existing flooring, clean the subfloor thoroughly, and fix any imperfections. It’s like giving your floors a fresh canvas to work with. Check for guidelines from your flooring manufacturer to ensure your subfloor meets their requirements. No squeaky floors allowed!
- Acclimating the Flooring Materials
You might be eager to get the new floors in, but please wait. There must be an acclimation period for pre-finished engineered flooring. It’s the equivalent of giving your floors time to settle into a new house. For at least 48 hours before installation, leave the flooring in its unopened boxes in the room. This will give the wood time to adjust to the relative humidity and temperature of the room. Having patience will pay off in the end.

A Step-by-Step Guide to Installing Pre-Finished Engineered Flooring
- Tools and Materials Required
Get everything you need before beginning the installation of your pre-finished engineered flooring. You will also need a rubber mallet, a tape measure, flooring adhesive (if applicable), and a miter saw. Put on your handyman hat and get a pair of knee protection, too. Your knees will be grateful to you in the long run.
- Preparing for Installation
Start by clearing the area of any obstacles, like furniture or throw rugs. Just imagine it as a dance floor, ready to be transformed. Lay down an underlayment to provide cushioning and moisture protection. Then, grab your first box of flooring and open it with the excitement of a kid on Christmas morning. You’re ready to rock.
- Installing the First Row of Flooring
The tone for the entire floor installation is established by the first row of planks. You want it to have the same impact as the opening act of a concert. First, you’ll need to cut off the tongue on one end of the first board and then rest it against the wall with some room for growth. Fasten it to the subfloor as instructed by the manufacturer, either with adhesive or nails. Do the same down the first row, taking care to ensure a tight fit between each plank. You’ve made an excellent beginning!
- Continuing the Installation
With the first row in place, it’s time to keep the momentum going. Lay the next row, making sure to stagger the end joints at least 6 inches from the previous row. It’s like a well-choreographed dance routine, with each step carefully planned to create a seamless flow. Use the rubber mallet to gently tap the planks together, ensuring a tight fit. Continue this process until you reach the final row. You’re a flooring installation pro!
- Finishing the Installation
Congratulations! So close yet so far! The very last row can be challenging, much like the very last jigsaw piece. The boards should be measured and cut to size, with enough room for growth. Trim and baseboards can be reinstalled after the last row has been installed. Similar to putting the finishing touches on a painting, etc. Take a moment to look at what you’ve accomplished and bask in the joy of a job well done.
Now you can enjoy your beautiful new pre-finished engineered flooring. Sit back, relax, and maybe invite some friends over to show off your fancy new floors. Cheers to you, flooring installation extraordinaire!

