
Many people choose tongue-and-groove flooring because of its long lifespan and attractive look. The planks in this flooring system are designed to fit firmly together when installed, providing a solid and durable floor. When it comes to placing flooring, there isn’t much of a difference between laying down hardwood, laminate, or engineered tongue and groove.
In this blog, we will show you how to properly install tongue and groove flooring without having to hire a professional.
Essential Tools and Materials Required for Installation
There are a few must-have items when installing tongue and groove flooring:
- Tape measurer: to determine the amount of flooring required
- Circular saw or table saw: to cut the boards to the right dimensions.
- Chisel and hammer: to knock off any obstructive baseboards or trim.
- Rubber mallet: to gently tap the boards into place.
- Nail gun or flooring stapler: to secure the boards
Before getting started, make sure you have the following materials on hand:
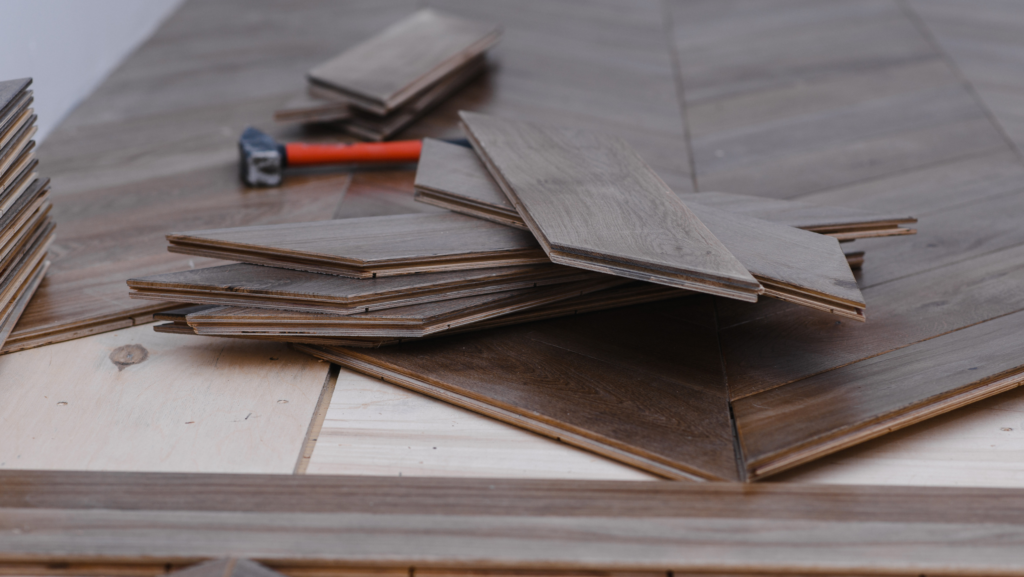
1- Tongue and groove flooring boards: Choose the type of flooring that suits your needs and style.
2- Underlayment: A layer of moisture barrier or foam underlayment can provide added insulation and noise reduction.
3- Moisture barrier: If installing over a concrete subfloor, a moisture barrier is essential to prevent moisture-related issues.
4- Adhesive, nails, or staples: Depending on the type of flooring, or by preference of use, gather the correct amount of equipment to secure the boards
5-Spacers: These are used to maintain a consistent expansion gap around the perimeter of the room.
Remember to wear protective eyewear and ear muffs when working with power equipment to avoid injury.
Tongue and Groove Flooring: Subfloor Preparation
Before laying tongue-and-groove flooring, it is absolutely necessary to do a damage inspection of the subfloor. Make sure that it is not tilted, that it is clean, and that it is strong. It will be easier for you to repair any squeaks or weak places if you remove the carpet, old floor, and padding. Now is the time to correct any unevenness in the subfloor or totally level it out. Repair any planks that are sunken or warped, fill up any holes or spaces, and sand down any rough spots that you find. When it comes to establishing a solid foundation for your new flooring, this step is quite essential.
A Step by Step Guide to the Installation Process
1- Flooring Adaptation
Tongue and groove floors need 48 hours to adjust to the room temperature and humidity before being installed. This permits the boards to settle into their final position at installation, rather than expanding or contracting due to changes in temperature or humidity.
2- Quantifying Resources
Take accurate measurements of the room’s dimensions to determine how much flooring material you’ll need. You should order 10 percent more flooring to compensate for faults and waste.
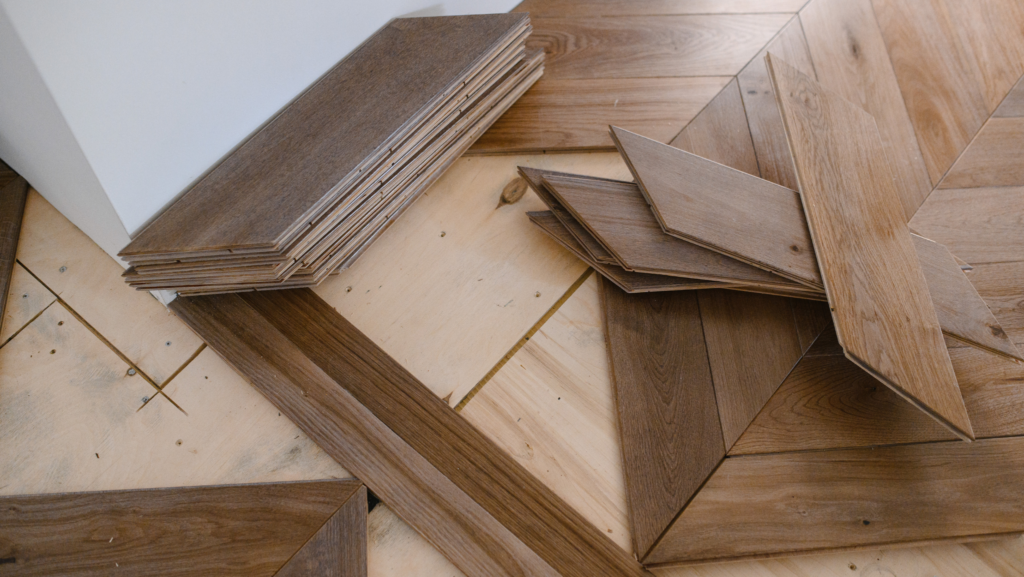
3- First-Row Construction
The first planks should be laid along the room’s longest straight wall. Leave some breathing room between the boards and the wall by using spacers. Be sure that the boards are oriented with the groove side facing the back wall.
4- Putting in New Rows*The tongue and groove sides of each board should continue to interlock as you install the next row. To ensure a tight fit, tap the boards together with the rubber mallet. If you want your installation to look more natural and secure, stagger the end joints between rows.
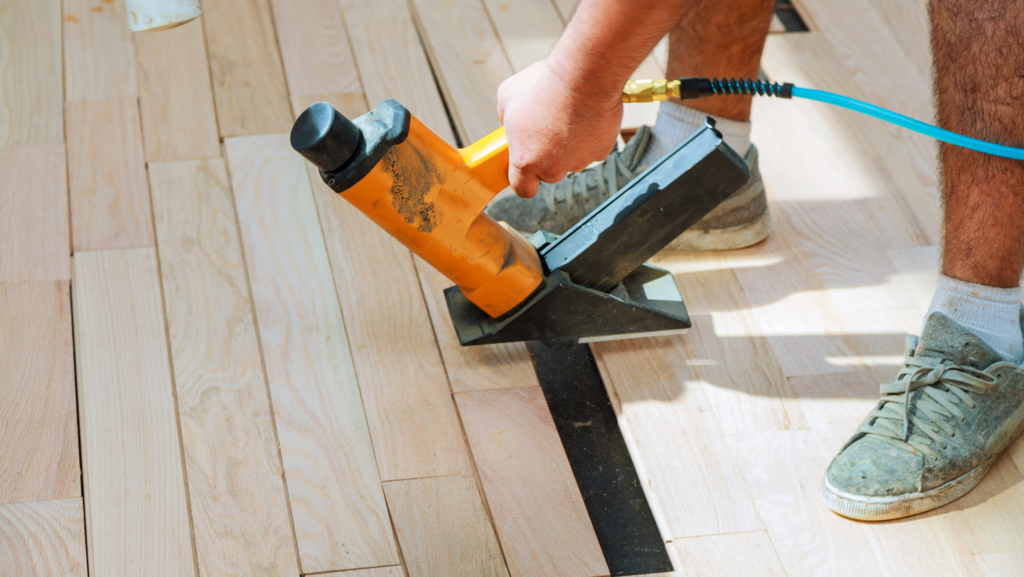
5- Installing the Flooring with Nails or Glue
Tongue-and-groove flooring boards can be fastened together with glue or by nailing at an angle through the tongues. The installation process should go according to the manufacturer’s instructions.
Make sure the boards are secure and level before adding the next row. When you’re done, remove the spacers around the room’s edges and put up any remaining baseboards or trim.
Useful Tips to Maintain Tongue and Groove Flooring
After installing your tongue and groove flooring, here are some useful tips that can help you take care of it:
1- Maintenance and Cleanliness
Tongue-and-groove flooring needs the same care as other flooring to stay beautiful. A damp mop with a mild cleanser can remove stains and spills from your floors. Excessive water consumption might damage seams. Don’t use a steam mop. That’s like torching a marshmallow.
2- Managing Accidental Pigments
Due to accidents, spills and stains are inevitable. Wipe up spills with a clean towel or rag. Even if a stain becomes embedded, there are several wood floor cleaners and stain removers available. Follow product recommendations and test the new product in a concealed spot before using it throughout.
3- Fixing and Repairing Damaged Flooring
Your tongue-and-groove floor may show signs of wear and tear over time. No worries! It can be refinished to look like new. Sanding the surface and applying a new finish restores showroom brilliance. Fix small dings, scratches, and dents with wood putty or filler. For a seamless repair, match the color as closely as possible. If all else fails, try hiding the defect with a rug or other furniture and calling it “vintage charm.”
In conclusion, correctly installed tongue-and-groove flooring will increase the appeal and value of your home. This article’s installation procedure will give you a smooth, professional finish that lasts.
With these recommendations, you can confidently start your tongue-and-groove flooring installation project and enjoy its beauty and longevity for years to come.